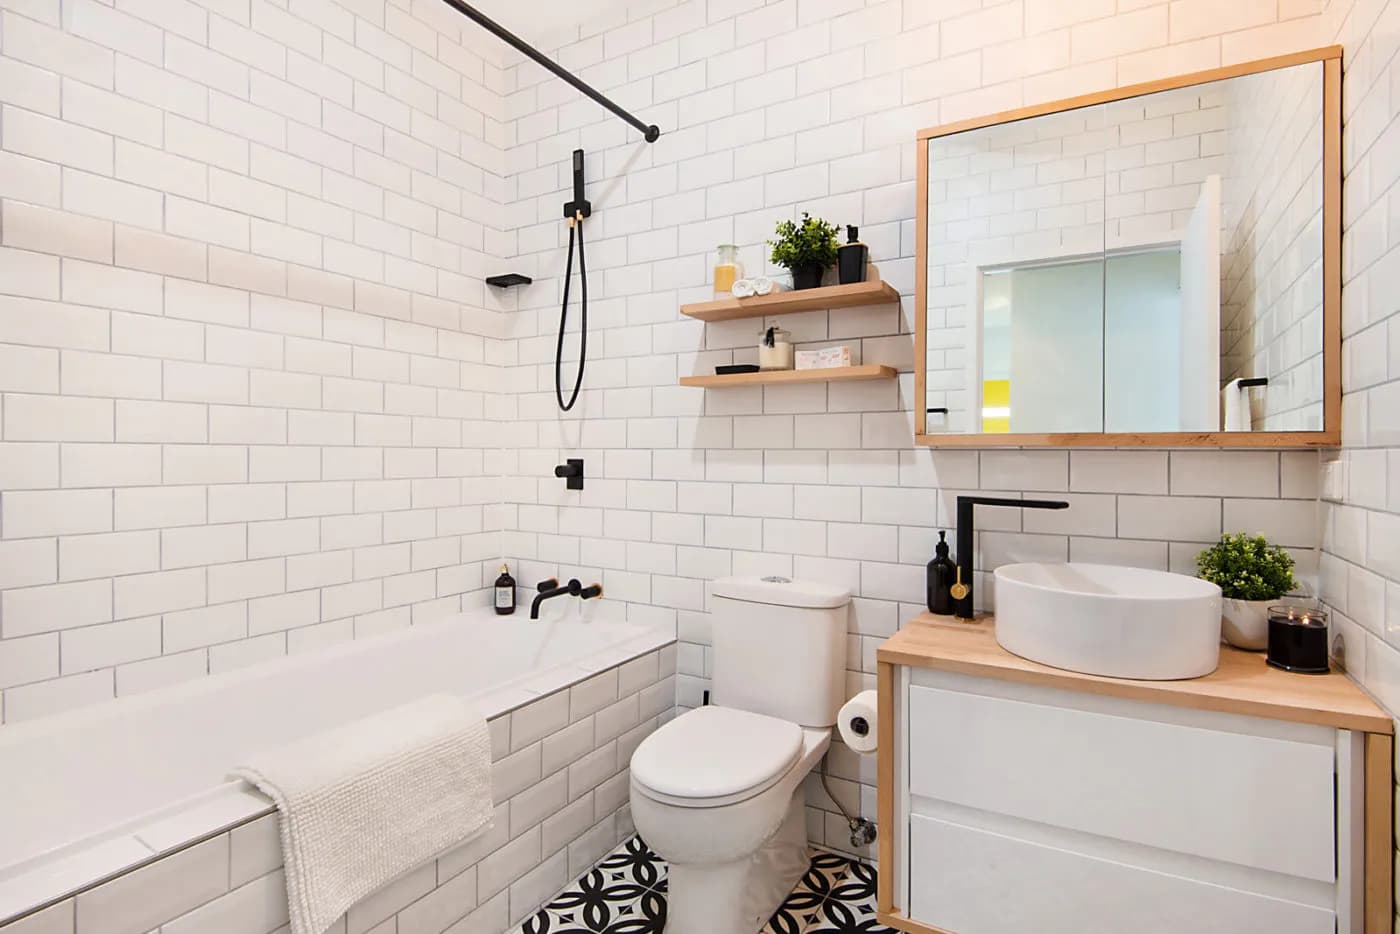
Why Plumbing Decisions Come First
Once tiles are laid, every plumbing change means breaking something. That is why most expensive renovation mistakes come from pipes that were rushed, wrongly placed or never tested. Settling the plumbing early protects your budget and your finished surfaces.
Step-by-Step Plumbing Checklist
- Confirm your fixture list. Decide on the toilet, basin, shower, heater, bidet spray and cabinet before pipes are laid, since each has its own connection points.
- Check approvals. Confirm with your management or relevant authority whether any works need permission.
- Plan the hot and cold lines. Make sure the layout suits your heater type and mixer.
- Mark outlet heights. Shower mixer, basin tap and bidet positions should match the people using them.
- Install isolating valves where they can be reached later.
- Pressure test the new lines before they are covered.
- Check floor falls and floor traps so water drains properly.
- Complete waterproofing and a water-tightness test as specified by your contractor.
- Only then lay tiles.
Stages and Who Is Usually Involved
| Stage | What Happens | Why It Matters |
|---|---|---|
| Hacking and prep | Old tiles and fittings removed | Reveals existing pipe condition |
| Pipework | New supply and waste lines installed | Defines where every fixture will sit |
| Pressure test | Lines held under test pressure | Catches leaks while walls are still open |
| Waterproofing | Membrane applied and tested | Protects against seepage to other units |
| Tiling and fittings | Finishes and fixtures installed | Final connection and sealing |
Pro tip: Ask for the pressure test result before tiling starts. A few hours of testing can save you from breaking brand new tiles later.
Common Renovation Plumbing Mistakes
- Skipping the pressure test to save time
- Burying joints in places that cannot be reached
- Forgetting isolating valves for the toilet or basin
- Wrong mixer height for the shower head
- Poor slope so water collects away from the floor trap
Work With Your Contractor
We install and test hot and cold water pipes for renovations and coordinate with your contractor so schedules stay on track. If you are unsure whether existing pipes should be kept or replaced, we can inspect them and give a clear recommendation.
Start With Your Existing Pipes
Before you finalise any design, find out what you already have. Hacking often exposes old pipes that have been in place for many years. Some may still be in good condition, while others show corrosion, scale or poor joints. Replacing pipes you cannot easily reach later is one of the smartest uses of a renovation budget.
Ask your plumber to inspect exposed lines and tell you honestly which ones are worth keeping and which should be replaced. A short inspection while the walls are open can prevent years of problems.
Planning Fixture Positions
The location of each fixture decides the route of the pipes behind it. A few details deserve special attention.
Toilet
Check the waste outlet position, the cistern type and the angle valve location. Wall-hung toilets with concealed cisterns need extra planning for access to the flush mechanism.
Basin
Decide the tap height and position before the walls are finished. Make sure the supply pipes and waste line line up with your chosen vanity or cabinet.
Shower
Mixer height, shower head position and any rain shower arm should suit the people using them. Consider whether the shower will have a hand spray, a bidet spray or both.
Water Heater
Decide where the heater goes and how the pipes will reach it. The supply lines, isolating valves and electrical connection all need to be coordinated.
Choosing Pipe Materials and Fittings
The best material depends on the application and the contractor's standards. What matters is that the products are suitable for hot or cold water as appropriate, are installed correctly and are pressure tested. Avoid mixing incompatible materials without the proper fittings, since this can lead to corrosion or leaks over time.
Why Pressure Testing Deserves Its Own Visit
Pressure testing is not a formality. It is the moment when hidden mistakes are caught. The test usually involves closing off the new lines, bringing them to test pressure and observing whether the pressure holds for a set time.
- It reveals leaking joints before they are buried
- It saves you from breaking new tiles to repair a leak
- It gives you and your contractor a clear record of the system's condition
- It protects the unit below from future water damage
Ask your contractor or plumber when the test will be carried out and request confirmation that the lines passed.
Waterproofing and Floor Falls
Plumbing and waterproofing work hand in hand. Even perfect pipes cannot protect your home if water seeps through the floor. A proper waterproofing layer, applied and tested before tiling, forms the final barrier. At the same time, the floor must slope gently toward the floor trap so water drains instead of pooling.
- Ask how the waterproofing will be applied and how it will be tested
- Check that the floor trap sits at the lowest point
- Make sure pipe penetrations through the floor and wall are properly sealed
- Keep photos of each stage for your records
Access Matters More Than You Think
Pipes and valves occasionally need maintenance. A design that hides everything behind solid walls makes future repairs expensive. Think about the following.
- Place isolating valves where you can reach them
- Provide an access panel for concealed cisterns and important joints
- Avoid burying joints under floors or in places that cannot be opened
- Keep a simple drawing or photos of the pipe routes
Questions to Ask Your Contractor or Plumber
- Will existing pipes be reused or replaced, and why?
- Who is responsible for the pressure test, and when will it happen?
- How will the waterproofing be tested before tiling?
- Where will the isolating valves be located?
- What will happen if a leak is found after tiling?
- Do any works need management approval or notification?
Typical Timeline: What Happens When
| Phase | Plumbing Tasks | Your Role |
|---|---|---|
| Design | Confirm fixtures and layout | Choose products and share dimensions |
| Demolition | Inspect existing pipes | Decide what to keep or replace |
| Rough-in | Install supply and waste lines | Check positions before walls close |
| Testing | Pressure test and waterproofing test | Request results |
| Finishing | Fit fixtures, taps and mixers | Check operation and leaks |
| Handover | Final test and cleaning | Learn where valves are |
Budget tip: Spending a little more on proper pipework and testing is usually cheaper than fixing a leak behind finished walls. Plumbing is the part of the renovation you hope never to see again.
After the Renovation
Once the project is complete, run all fixtures and check for drips or slow drainage over the first few weeks. Small settling issues can appear, and early attention keeps them minor. Keep warranty details and product information in one place so future repairs go smoothly.
Common Surprises When the Walls Come Down
Renovators often discover unexpected plumbing issues once the old tiles are removed. Being ready for them keeps your schedule and budget realistic.
- Corroded or scaled pipes that look fine from outside but are narrowed inside
- Old joints that have been quietly weeping and left stains behind the tiles
- Floor traps set at the wrong level, causing water to pool
- Pipes routed in awkward places that make fixture positions difficult
- Previous repairs done with mismatched materials
Ask your plumber to walk through the exposed area with you and photograph anything unusual. It is far easier to decide on repairs now than after the new finishes are in place.
Final Thoughts
A beautiful bathroom starts with well-planned plumbing. Take your time with fixture positions, insist on pressure testing and think about future access. With the right preparation, the hidden parts of your bathroom will stay trouble-free for many years.
Need a Plumber in Singapore?
Talk to the team at SG Plumbing Service Pte Ltd for a clear quote before any work starts.
- Phone: +65 8434 3660
- WhatsApp: +65 8544 8704
- Email: sgplumbingservice@gmail.com
- Address: 234 Serangoon Road, #04-234E, Singapore 218083
- Website: www.sgplumbingservice.com